
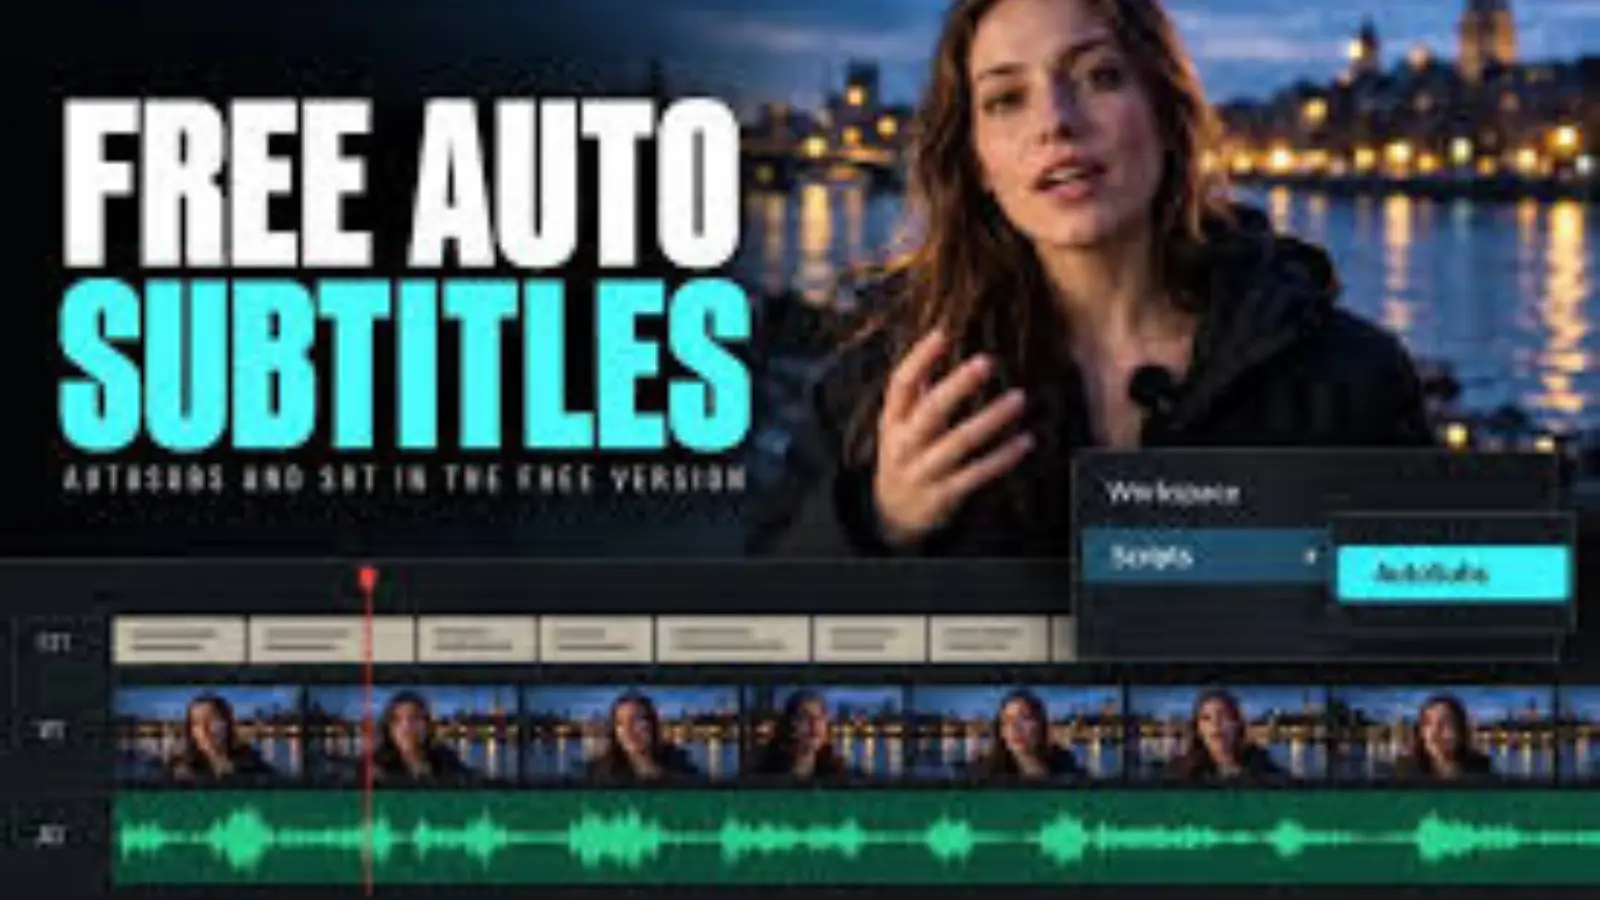
What version of DaVinci Resolve has auto captions? DaVinci Resolve 18.5 introduced the automatic transcription and subtitle-generation workflow, allowing editors to create captions directly from spoken audio.
The feature is available in DaVinci Resolve Studio, while availability and limitations in the Free edition depend on the version and specific transcription functionality.
Automatic captions have changed how video creators edit interviews, tutorials, YouTube videos, Instagram Reels, podcasts, and short-form social media content.
Instead of manually typing every spoken sentence, editors can use speech recognition to generate subtitles and then correct the text, timing, and formatting.
DaVinci Resolve, developed by Blackmagic Design, combines professional video editing, color correction, visual effects, audio post-production, and subtitle tools in one application.
In this guide, you’ll learn which versions support automatic captions, how the feature works, how to generate subtitles, what separates the Free and Studio editions, and how to improve transcription accuracy for professional and social media projects.
1. Understanding the DaVinci Resolve Version That Introduced Automatic Captions
Before using automatic captions, it helps to understand when Blackmagic Design introduced the feature and how it developed.
1. DaVinci Resolve 18.5 introduced automatic transcription. Version 18.5 brought a major improvement to subtitle workflows through speech-to-text functionality. Editors could transcribe spoken dialogue and generate subtitles without manually entering every sentence.
2. Speech recognition changed subtitle editing. Earlier workflows often required editors to listen to recordings repeatedly and type each line. Automatic transcription reduced this repetitive work and made subtitle creation faster.
3. The feature is designed for spoken audio. Automatic transcription analyzes dialogue and attempts to convert recognizable speech into written words. It is particularly useful for interviews, presentations, tutorials, and narration.
4. Automatic captions are different from manual subtitles. Manual subtitles require editors to enter the text themselves. Automatic captions use speech recognition to create an initial transcript that can subsequently be edited.
5. The transcription process is integrated into editing. Rather than exporting audio to an unrelated transcription application, eligible DaVinci Resolve workflows allow editors to work with speech recognition inside the video-editing environment.
6. The Edit page provides the relevant workflow. Editors generally use the timeline and subtitle-generation controls to analyze dialogue and create caption tracks.
7. The generated text still needs proofreading. Speech recognition can misunderstand names, technical terms, accents, and background conversations. Automatic generation should be considered a first draft.
8. Caption timing is an important part of the feature. A useful subtitle must appear when the corresponding words are spoken. Editors can review and adjust subtitle segments after generation.
9. The feature benefits long-form creators. Interviews, podcasts, online courses, and documentary projects can contain hours of dialogue. Automatic transcription can reduce the amount of repetitive manual work.
10. Short-form creators also benefit. YouTube Shorts, Instagram Reels, and TikTok videos often rely on readable on-screen captions to communicate quickly.
11. Version updates can change the experience. Menu locations, supported languages, and performance may differ between releases. Consult the documentation for the exact version installed on your computer.
12. DaVinci Resolve 18.5 is the key version to remember. If you’re researching the introduction of automatic transcription and subtitle generation, this is the release that established the feature in the DaVinci Resolve editing workflow.
2. Comparing DaVinci Resolve Free and Studio for Auto Captions
One of the most important questions is whether automatic captions require a paid license. The distinction between the Free and Studio editions deserves careful attention.
1. DaVinci Resolve has two main editions. Blackmagic Design provides a free version and a paid Studio edition. Both offer extensive editing capabilities, but some advanced features are reserved for Studio.
2. Studio provides additional AI-powered capabilities. The paid edition includes advanced tools that can expand an editor’s workflow, including supported transcription-related features.
3. Do not assume every transcription feature is identical. Availability can vary according to the release, operating system, and particular feature. Check the current feature list before purchasing Studio specifically for captions.
4. The Free edition remains useful for subtitle editing. Even when a particular automatic transcription function is unavailable, editors can still create, import, and edit subtitle content using supported manual workflows.
5. Studio may be preferable for frequent professional work. Editors producing multiple interviews, tutorials, and commercial videos may benefit from advanced automation beyond subtitle creation.
6. Evaluate your actual editing requirements. If you only publish occasional videos, manual subtitle creation or an external transcription service may be sufficient.
7. Consider your computer hardware. Automatic speech recognition and video editing can place demands on your system. A suitable processor, memory capacity, and supported graphics hardware help create a smoother experience.
8. Check language support before upgrading. Do not assume every spoken language or regional accent receives identical recognition quality.
9. Review licensing costs. Compare the current Studio license price with the time you expect to save. Blackmagic Design’s official website provides current pricing and licensing information.
10. Test the feature before building a workflow around it. If possible, use a short sample video to confirm that the version and edition you intend to use support the required transcription process.
11. Consider other Studio features. The value of Studio should be evaluated across the entire editing workflow, including noise reduction, visual effects, color tools, and other advanced capabilities.
12. Choose the edition based on practical value. The best version is not necessarily the most expensive one. Select the edition that supports your actual production requirements.
3. Checking Which DaVinci Resolve Releases Support Automatic Subtitles
The minimum version and edition are the two details you should check before starting a project. The following breakdown explains the general compatibility of the built-in automatic subtitle feature.
| DaVinci Resolve release | Free edition | Studio edition |
|---|---|---|
| Resolve 17 and earlier | No native auto captions | No native auto captions |
| Resolve 18.0–18.1 | No | No |
| Resolve 18.5–18.6 | No | Yes |
| Resolve 19 | No | Yes |
| Resolve 20 | No | Yes |
| Resolve 21 | No | Yes |
This table refers specifically to the built-in speech-to-text subtitle-generation feature, not manual subtitle editing or importing an existing subtitle file. Blackmagic Design Documents+3
1. Resolve 17 and earlier: These releases do not include the built-in automatic subtitle-generation feature introduced in version 18.5. You can use supported manual subtitle workflows instead.
2. Resolve 18.0: Installing the original Resolve 18 release does not give you the later automatic subtitle-generation feature.
3. Resolve 18.1: This release also predates the introduction of Auto Caption.
4. Resolve 18.5: This is the important starting point. DaVinci Resolve Studio 18.5 introduced automatic transcription and subtitle creation.
5. Resolve 18.6: Studio users can continue using the built-in functionality introduced in 18.5.
6. Resolve 19: The Studio edition continues to support automatic subtitle generation, making it useful for creators working on interviews, tutorials, and social media videos.
7. Resolve 20: Studio retains automatic transcription and adds improvements to transcription quality and language support. Blackmagic Design Documents
8. Resolve 21: The current major release family includes further editing and AI-related improvements. Studio users should consult the version-specific manual for exact transcription options. Blackmagic Design+1
9. Minor updates matter: A version such as 20.1 or 21.1 may contain changes that are not present in the original major release.
10. Operating systems matter: Windows, macOS, and Linux installations can have different hardware and compatibility considerations. Check the official requirements for your operating system.
11. The edition label matters: Resolve 20 Free and Resolve 20 Studio are not interchangeable when checking access to automatic speech transcription.
12. Check the installed version rather than guessing: Open DaVinci Resolve, select the About option, and confirm the complete version number and whether your installation is Studio.
4. Generating Your First Automatic Captions Without Typing Every Word
Once you have a compatible Studio installation, the process is relatively straightforward. Prepare your edited timeline before generating subtitles so that the captions match the final audio.
1. Open DaVinci Resolve Studio. Start the application and open the project containing the video you want to caption.
2. Select the Edit page. The Edit page provides the timeline environment where you can arrange video, audio, and subtitle tracks.
3. Import your media. Add your video and audio recordings to the Media Pool if they are not already available in the project.
4. Create your timeline. Drag the video into the timeline or open the existing edited sequence. Confirm that the audio is available and plays correctly.
5. Complete the main video edit. Trim unwanted footage, arrange scenes, and make important timing adjustments before generating captions.
6. Open the Timeline menu. Locate the automatic subtitle-generation command in the relevant menu. Depending on the release, the command may appear under Timeline or AI Tools.
7. Choose Create Subtitles from Audio. This is the built-in speech-to-text workflow that analyzes spoken dialogue and creates subtitle entries.
8. Select the spoken language. Choose the language actually used in the recording. Selecting an incorrect language can significantly reduce transcription quality.
9. Review caption settings. Depending on the version, you may be able to choose a caption preset, maximum characters per line, or other formatting options.
10. Start the transcription. Confirm your settings and allow Resolve to analyze the selected timeline audio.
11. Review the generated subtitle track. After processing, Resolve places the resulting subtitle entries on a subtitle track. Check the words and their timing.
12. Correct the final captions. Play the video and compare the generated text with the original speech. Fix errors before exporting.
Official reference: DaVinci Resolve 18.5 New Features Guide, Auto Caption section. Blackmagic Design Documents+1
5. Understanding the Speech-to-Text Technology Behind Resolve Captions
Automatic captions are created through speech recognition. Understanding the process helps editors identify why certain words are recognized correctly while others require manual correction.
1. Audio analysis begins the process. Resolve examines the audio in the selected timeline and identifies speech patterns that can be converted into text.
2. Speech recognition identifies words. The transcription system attempts to recognize the sounds spoken by the person in the recording.
3. Language selection guides recognition. Choosing the correct spoken language helps the system interpret vocabulary and pronunciation more accurately.
4. Context improves sentence interpretation. Speech recognition considers linguistic patterns when determining likely words and sentence structure.
5. Punctuation makes captions readable. The transcription process can produce punctuation and capitalization, helping transform raw speech into more readable subtitles.
6. Timing connects text with dialogue. The system creates subtitle segments associated with particular points in the timeline.
7. Background noise can affect recognition. Traffic, music, room echo, and other competing sounds may make speech harder to understand.
8. Accents influence transcription. A speaker’s accent, pronunciation, and speaking speed can affect how accurately words are recognized.
9. Multiple speakers create additional challenges. Overlapping conversations may cause incorrect or incomplete transcription, particularly when voices occur simultaneously.
10. Technical vocabulary requires attention. Names, product terminology, specialist expressions, and uncommon words may be incorrectly interpreted.
11. Language support depends on the release. DaVinci Resolve 20’s official feature guide documents improved transcription quality and additional language support, with extended language packages available through the Extras Download Manager. Blackmagic Design Documents
12. Human proofreading remains essential. Even a high-quality transcription should be checked against the actual recording before publication.
6. Making Captions More Accurate Before Publishing Your Video
Good transcription starts before you click the automatic caption button. Improving audio quality and preparing the timeline can reduce the number of corrections required later.
1. Record clear dialogue. Use a suitable microphone and position it close enough to capture the speaker without unnecessary room noise.
2. Choose a quiet recording environment. Fans, traffic, loud machinery, and background conversations can interfere with speech recognition.
3. Avoid excessive background music. Music that competes with dialogue makes it harder for transcription software to distinguish spoken words.
4. Check audio levels. Extremely quiet or distorted recordings can reduce speech intelligibility. Listen to the recording before starting transcription.
5. Reduce unnecessary audio overlap. When multiple dialogue tracks play simultaneously, the transcription may struggle to identify the intended words.
6. Mute irrelevant tracks when appropriate. If a timeline contains background dialogue or audio that should not be transcribed, temporarily disable the unnecessary tracks before analysis.
7. Choose the correct language setting. A recording in English should not be analyzed using a different language simply because that language is available in the menu.
8. Pay attention to proper names. Names of people, places, companies, and products often require manual verification.
9. Review numbers and abbreviations. Dates, prices, measurements, and technical abbreviations can be transcribed inconsistently.
10. Check sentence boundaries. Make sure punctuation reflects the speaker’s meaning rather than creating confusing or incomplete statements.
11. Review the entire timeline. Do not proofread only the first few minutes. Errors can occur at any point, especially when speakers change or audio conditions vary.
12. Ask another person to review important videos. A second listener may notice mistakes that the original editor overlooks.
7. Styling Automatic Captions for Professional Video Projects
Generating accurate text is only half the job. Caption appearance also affects readability, accessibility, and the overall quality of the finished video.
1. Choose a readable font. Select a clean sans-serif typeface that remains easy to read on desktop screens and mobile devices.
2. Adjust font size. Captions should be large enough to read without covering important visual details. Check the result at the actual playback size.
3. Use contrasting colors. White text with a dark background or outline often provides good readability over different video scenes.
4. Add a subtle background. A semi-transparent background can help viewers read captions when the footage contains bright or complicated visuals.
5. Position captions carefully. Keep subtitles away from important faces, graphics, and objects. For vertical videos, also consider the areas covered by social media interface elements.
6. Keep subtitle lines short. Long lines can be difficult to follow, particularly on smartphones. Break sentences into manageable segments.
7. Maintain consistent formatting. Use similar font sizes, colors, spacing, and positioning throughout the project.
8. Highlight important words selectively. Emphasizing key phrases can help viewers follow educational videos, provided the effect does not make the text distracting.
9. Avoid excessive animation. Flashing text and rapid movement may reduce readability. Prioritize comfortable viewing.
10. Check capitalization and punctuation. Consistent text presentation makes a video appear more polished and professional.
11. Preview different scenes. A caption style that works on a dark background may become difficult to read over bright footage.
12. Create reusable presets where appropriate. Consistent subtitle settings can save time when producing a series of videos with the same visual identity.
8. Getting Automatic Captions in the Free Version of DaVinci Resolve
You do not necessarily need to purchase Studio to publish videos with subtitles. The free edition supports useful subtitle workflows, even though its built-in automatic transcription is not included.
1. Understand the limitation. The Free edition does not include the native Create Subtitles from Audio speech-to-text feature.
2. Use an external transcription service. You can process your audio separately and generate a subtitle file without purchasing DaVinci Resolve Studio.
3. Consider Whisper-based transcription. Open-source speech recognition projects based on Whisper can generate text from audio recordings.
4. Generate an SRT file. SubRip Subtitle files contain subtitle text and timing information that can be imported into supported video-editing applications.
5. Import the subtitle file. Bring the completed SRT file into the DaVinci Resolve Media Pool using the supported import workflow.
6. Place subtitles on the timeline. Add the imported subtitle content to the appropriate timeline and check whether its timing matches your video.
7. Correct synchronization problems. If the subtitles appear too early or too late, adjust their timing or correct the source subtitle file.
8. Create subtitles manually when necessary. The Free edition allows you to create subtitle entries without automatic speech recognition.
9. Use supported third-party solutions carefully. Community-developed scripts and plugins may offer additional automation, but compatibility depends on the Resolve version and installation method.
10. Check script compatibility. For example, some community tools rely on scripting features or interface components that may change between releases. AutoSubs documentation provides version-specific setup information. GitHub+1
11. Compare the total time involved. An external transcription workflow may be more economical for occasional projects, while Studio may save time for regular production.
12. Choose the simplest reliable solution. If you only need subtitles occasionally, importing an externally generated SRT file can be a practical alternative to upgrading.
Useful resources: AutoSubs project documentation and Free-version subtitle workflow.
9. Transforming Resolve Captions Into Instagram Reels and YouTube Shorts
Short-form video creators often need captions that are readable, visually attractive, and synchronized with quick dialogue. DaVinci Resolve can help prepare subtitle tracks for these platforms.
1. Choose a vertical timeline. For Instagram Reels, TikTok, and YouTube Shorts, a 9:16 vertical project is a common format.
2. Keep captions inside safe areas. Avoid positioning text too close to the bottom or sides, where platform buttons and interface elements may cover it.
3. Use concise subtitle segments. Short phrases are easier to follow when viewers are scrolling quickly through short videos.
4. Emphasize the opening message. The opening seconds should communicate the video’s subject clearly, giving viewers a reason to continue watching.
5. Use readable on-screen typography. Large, high-contrast captions can improve readability on small mobile displays.
6. Synchronize captions with speech. Text should appear when the corresponding words are spoken, not several seconds before or after.
7. Avoid unnecessary text repetition. If a headline already appears on screen, the subtitle track should not create excessive visual clutter.
8. Include accurate descriptions. Your Instagram caption should explain the video’s topic and provide useful context beyond the words already displayed.
9. Choose relevant hashtags. Tags such as #DaVinciResolve, #VideoEditing, #InstagramReels, and #AutoCaptions can describe relevant editing content when appropriate.
10. Consider accessibility. Accurate captions help viewers who watch without sound and people who have difficulty hearing the spoken content.
11. Monitor engagement rate. Evaluate saves, shares, comments, reach, and watch time to understand how audiences respond to different video formats.
12. Test different caption designs. Compare simple subtitles with carefully styled text across similar videos. Use the results to develop a consistent visual approach.
Remember that subtitles and social media post captions serve different purposes. Subtitles represent spoken dialogue, while the Instagram caption provides additional information, context, hashtags, or a call to action.
10. Exporting Your Finished Video With Captions Correctly Included
After proofreading and styling your subtitles, the next step is making sure they appear correctly in the exported video.
1. Open the Deliver page. Once your video edit and subtitle review are complete, move to the Deliver page to configure the export.
2. Choose the required video format. Select an appropriate format and codec based on your publishing destination and delivery requirements.
3. Check subtitle export settings. Decide whether you want to export subtitles as a separate file or include them directly in the video.
4. Understand embedded subtitles. Depending on the selected format and export options, subtitles may be included as a separate selectable stream.
5. Consider burned-in subtitles. Burning subtitles into the video makes them permanently visible as part of the picture.
6. Export an SRT file when needed. A separate SRT file allows compatible players and platforms to display subtitles independently of the original video image.
7. Check subtitle language labels. When exporting multiple language tracks, ensure each one is correctly identified.
8. Review the export destination. Select a suitable folder and use a recognizable filename so you can locate the finished video and subtitle files.
9. Check frame synchronization. Confirm that the subtitle timing remains aligned with the dialogue after rendering.
10. Watch the exported file. Do not assume the export settings worked correctly simply because the rendering process finished successfully.
11. Test on the intended platform. Upload a private or unlisted test video when appropriate and verify that the subtitles behave as expected.
12. Keep a backup of your subtitle file. Saving the SRT separately makes future corrections, translations, and alternative exports easier.
A correct export is essential because subtitles that look perfect inside the editing timeline may not appear as expected in every playback environment.
11. Troubleshooting When the Automatic Caption Feature Is Missing
Sometimes editors open DaVinci Resolve expecting automatic captions but cannot find the relevant menu option. The issue is often related to the edition, installed version, or workflow.
1. Check whether you have Studio. The first thing to verify is whether your application is the paid Studio edition. The built-in feature is not included in Free.
2. Confirm your Resolve version. You need at least DaVinci Resolve Studio 18.5 for the original automatic caption-generation feature.
3. Look in the correct menu. The command may be located under Timeline or AI Tools depending on the release. Check the documentation for your installed version.
4. Open an actual timeline. Make sure you have opened the project and selected the timeline you want to transcribe.
5. Verify that dialogue is present. Resolve needs accessible audio containing spoken words to generate useful captions.
6. Check the audio tracks. Muted dialogue tracks or disabled audio can prevent the expected speech from being analyzed.
7. Investigate overlapping dialogue. Multiple voices playing simultaneously can create transcription problems. Blackmagic’s 18.5 guide specifically identifies overlapping dialogue clips as a potential issue. Blackmagic Design Documents
8. Check language selection. An incorrect language setting can produce poor results or make the transcription difficult to understand.
9. Update when appropriate. If you’re using an older installation, review available updates and compatibility information before upgrading.
10. Check extended language support. In Resolve 20, additional language packages can be downloaded through Extras Download Manager where supported. Blackmagic Design Documents
11. Review system compatibility. Outdated drivers, insufficient system resources, and unsupported configurations may affect application performance.
12. Consult the official manual. If the feature is still missing, check Blackmagic Design’s support documentation instead of assuming the application is malfunctioning.
Official support: Blackmagic Design Support Center.
12. Building a Faster Captioning Workflow for Professional Content Creators
Automatic captions become especially valuable when they are part of a repeatable editing process. A structured approach can help creators produce more videos without sacrificing quality.
1. Prepare your recordings consistently. Use clear microphones, stable audio levels, and organized recording environments to reduce transcription errors.
2. Finish the main edit first. Captions are easier to synchronize after major cuts, scene changes, and audio adjustments are complete.
3. Generate subtitles in one organized pass. Avoid repeatedly processing the same timeline unless changes to the dialogue make another transcription necessary.
4. Establish a proofreading routine. Review proper names, numbers, technical terms, punctuation, and speaker changes every time.
5. Create a recognizable caption style. Consistent typography and placement can help audiences identify your videos across different publishing channels.
6. Save project templates. Reusable timelines and subtitle styling settings can reduce repetitive setup work for recurring video formats.
7. Maintain separate subtitle files. Keep SRT or other supported subtitle exports organized alongside the original project and rendered video.
8. Develop a multilingual workflow. If you publish for international audiences, check language availability and consider separate transcription and translation stages.
9. Use platform-specific formatting. YouTube videos, Instagram Reels, educational presentations, and corporate videos may require different subtitle layouts.
10. Measure audience response. Use available analytics to examine watch time, retention, shares, saves, and engagement rate rather than judging a captioning strategy by views alone.
11. Protect the accuracy of published information. Review sensitive details, technical instructions, and statements attributed to speakers before releasing the final video.
12. Keep learning about new releases. Blackmagic Design regularly updates DaVinci Resolve. Reviewing official release notes helps you identify improvements that may make your captioning process more efficient.
Frequently Asked Questions About DaVinci Resolve Auto Captions
1. What version of DaVinci Resolve has auto captions?
DaVinci Resolve Studio 18.5 is the first version with built-in automatic caption generation. The feature is available in later Studio releases, including versions 19, 20, and 21.
2. Does DaVinci Resolve 18.5 have automatic captions?
Yes. DaVinci Resolve Studio 18.5 introduced the Auto Caption feature, which analyzes spoken dialogue and creates timed subtitle clips on the timeline. The feature is Studio-only. Blackmagic Design Documents
3. Does DaVinci Resolve 19 have auto captions?
Yes. DaVinci Resolve Studio 19 supports automatic subtitle generation from audio. The Free edition does not include the built-in speech-to-text function.
4. Does DaVinci Resolve 20 support auto captions?
Yes. DaVinci Resolve Studio 20 supports automatic captions and includes improved transcription quality and additional language support. Blackmagic Design Documents
5. Does DaVinci Resolve 21 have automatic captions?
Yes. DaVinci Resolve Studio 21 belongs to the release family supporting the built-in automatic subtitle workflow. Check the official manual for your specific minor release.
6. Can I generate automatic captions in DaVinci Resolve Free?
Not through the native Create Subtitles from Audio feature. However, you can generate subtitles externally and import an SRT file into the Free edition.
7. Where is the Create Subtitles from Audio option?
Open your timeline in the Edit page and look under the Timeline or AI Tools menu, depending on your installed version. The feature requires Studio.
8. Does DaVinci Resolve support multiple languages?
Yes. Language availability depends on the version. DaVinci Resolve 20 introduced extended transcription language support through downloadable language packages.
9. Can I edit automatically generated subtitles?
Yes. After transcription, you can review the subtitle track, correct individual words, adjust timing, and change formatting.
10. Can I use DaVinci Resolve captions for Instagram Reels?
Yes. You can create subtitles, adjust their appearance, and export your finished video for Instagram Reels. Make sure the text fits comfortably within the vertical video safe areas.
11. Are automatic captions always accurate?
No. Accuracy depends on recording quality, pronunciation, accents, background noise, language support, and overlapping dialogue. Always proofread important videos.
12. Is upgrading to DaVinci Resolve Studio worth it for automatic captions?
It can be worthwhile if you frequently create videos containing spoken dialogue. If you only need occasional subtitles, an external transcription workflow with the Free edition may be more economical.
Conclusion: Choose the Right DaVinci Resolve Version for Automatic Captions
If you’re wondering what version of DaVinci Resolve has auto captions, the direct answer is DaVinci Resolve Studio 18.5 or later.
Blackmagic Design introduced automatic speech transcription and subtitle generation in version 18.5, making it possible to turn spoken dialogue into timed captions directly on the editing timeline.
The most important distinction is between the Free and Studio editions.
The Free edition supports manual subtitle creation, importing subtitle files, and other subtitle-editing workflows, while the built-in Create Subtitles from Audio feature requires Studio.
For content creators producing YouTube videos, Instagram Reels, TikTok clips, tutorials, interviews, and podcasts, automatic captions can save editing time and improve accessibility.
Before publishing, remember to:
- Confirm that you have a compatible Studio version.
- Select the correct transcription language.
- Prepare clear audio.
- Proofread the generated subtitles.
- Adjust font size, colors, and positioning.
- Export and test the finished video.
Ready to improve your video editing workflow? Open DaVinci Resolve Studio, test automatic captions on a short video, and experiment with subtitle styling.
A few careful adjustments can make your content easier to follow, more accessible, and more professional.

Liam Foster shares witty pick up lines, text ideas, and lighthearted jokes. He loves finding new ways to make introductions feel less awkward and more entertaining.